------------------------------------------------------------------
Setting Target AFR Tables (Also applies to Bazzaz)
------------------------------------------------------------------
The ideal, or stoichiometric air fuel ratio (AFR) is 14.7:1. However this "ideal" number can vary a lot based on many factors. Just the additives they put in todays fuels can knock this down to as low as 14.1:1. Anything greater than 14.7 is consider lean, less than 14.7 is consider rich.
Lean vs Rich:
Lean mixtures create tons of extra heat. So much heat in fact it's actually possible to melt holes in pistons, cause detonation, etc, all sorts of damage (particularly in higher RPMs). Rich mixtures are cooler and help protect parts, especially in the higher RPMs. Rich mixtures also have their downsides too. Rich mixtures can cause carbon buildup in the cylinders (can be a cause of detonation), tends to foul plugs quicker, and can "wash out" the rings (in very rich conditions) (Washing out the rings is where the fuel actually "cleans" all the oil off the cylinder walls, and you end up with fuel that seeps past the rings into the oil, resulting in lower compression and excessive wear to the motor). Now in general, lean mixtures (lean in this case being the safe side of 14:7:1, but as close to 14.7:1 as possible) can result in more power, better fuel economy, and better throttle response. The old standby was 13:1 made the most power at higher RPMs, while still protecting parts. That being said, there are so many variables, that these generalities don't apply to all applications. In fact our bikes tend to prefer much richer mixtures, and also make more power with more fuel, at least to a point.
My Recommendations for Targets
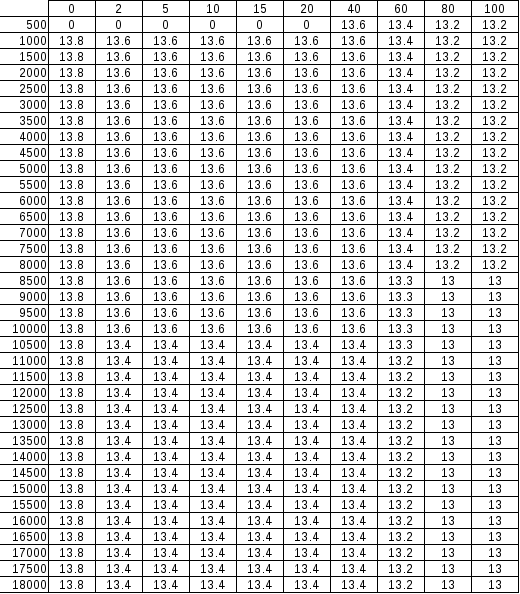
There are many different "schools of thought" for this, this "section" is my opinion and is based on what I have found to work for me both by feel and dyno results. My first recommendation is the leanest you should ever go anywhere on your map is 14. Second I don't recommend anything leaner than 13.2 after 9000 RPM starting at 80% throttle and greater. Generally to still get some fuel economy out of the bike, you want to be leaner and progressively get richer as throttle is applied and RPMs increase. Generally I would say 13.6 is a good for the cruising area, and gradually increase that number to 13 as the RPMs and throttle is increased. To give you an idea, this is an AFR table that worked well for me:
![Image]()
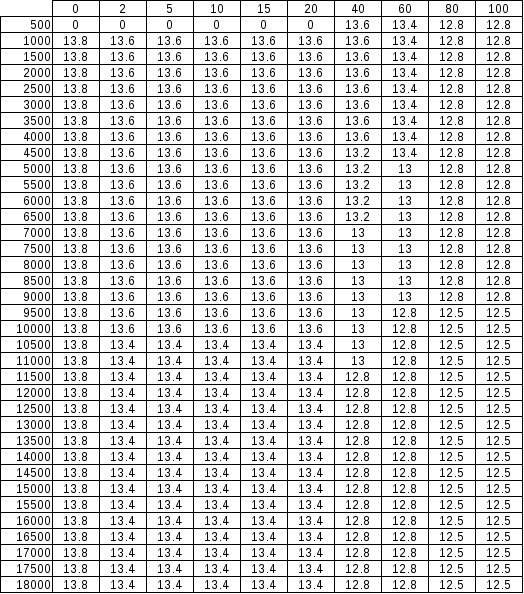
While the above map worked well, I've since found these bikes like fuel. This map is still meant to be sort of a compromise, still getting decent fuel economy while cruising around town, but still have the extra power up high. The richer mixtures on these bikes I've found to be worth roughly 1 hp in several spots, and helps broaden the power curve slightly.
Troubleshooting and Tips
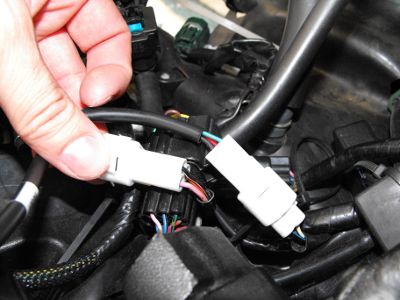
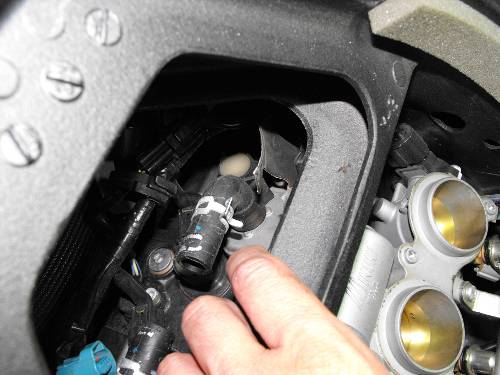
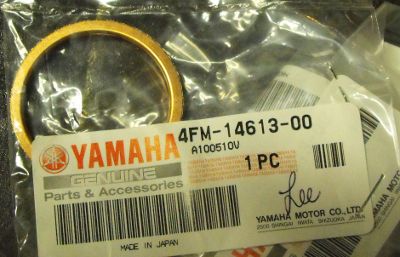
To run any type of AutoTune device, wether it be the AutoTune for the PCV, or the zAFM from Bazzaz, you need smog block off plates. Otherwise you won't have accurate AFR readings. These are a must, and they are not expensive.
Start with a base map, not a zero map. Then don't accept any trims right away (Bazzaz users must accept the trims for them to do anything, PCV users give the AutoTune time to work it's making live changes). The AutoTune will suggest trims after your first ride, you need to get a good average. I've only accepted the trims once since owning the AutoTune module. The goal, in my opinion, is to get the map close enough that the AutoTune can adapt the fuel map for changing environments. So anywhere you see the AutoTune maxing out it's adjustment increase the fuel on the base map there (Or accept those trims, after reading the next tip). Also don't accept trims on days where the temperature is abnormally hot or cold.
If you are using a base map and the AutoTune constantly wants to max out the fuel adjustment, you may be getting a false reading, do NOT continue to accept these changes. This can happen at lower RPMs, are at points where the frequency of the exhaust and valve overlap cause fresh air to be sucked right into the exhaust, for most exhaust systems on the R6 this is generally somewhere around 5000-6000 RPM. Trying to correct for a false reading will never work, the bike will just run super rich in that spot, despite the "lean" reading. At lower RPMs sometimes it's even necessary to disable the AutoTune by putting "0"s in the Target AFR cells (I have not needed to ever do this). Anywhere else, I suggest leaving the AutoTune enabled and just don't ever accept those trims.
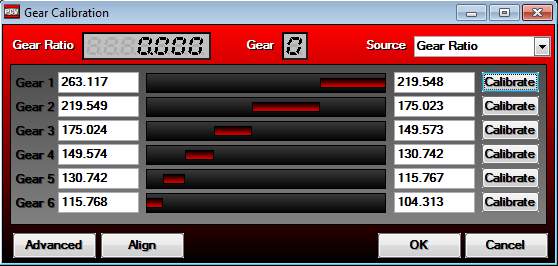
I strongly recommend if running the PCV to create separate maps for each gear. Without doing this your AutoTune trims will constantly be changing and pretty much all over the map. The amount of fuel needed in first gear is quite a bit different than what is needed in sixth gear.
If you run into a jumpy throttle, or an area that seems to lose power for a moment, try adding fuel. Adding fuel definitely helps smooth things out on these bikes. Now it is possible that you can get to much fuel and cause a "dead" spot, but most of the time more fuel will help your problem.
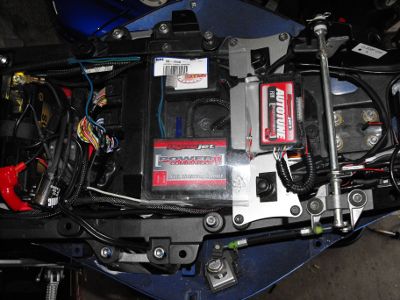
If running the PCV AutoTune I suggest leaving it on all the time this ensures your bike will always be running at peak performance. It allows your bike to adjust as your riding environment changes. Now you also have to realize though, wide band O2 sensors can have a shorter life span than regular O2 sensors. Race gas in particular will tend to chew through sensors in a hurry. Rich mixtures also slowly kill the sensors. Most people should get at least several seasons out of an O2 sensor (I've got 2 years on mine so far, still no problems). Replacement sensors are roughly $80 at the time of writing this. There is an O2 sensor test function described in the AutoTune instructions. A failing O2 sensor will typically start to become slow to respond to changes, especially noticeable at the higher RPMs. For the Bazzaz zAFM users, once you're happy with your map, completely removing the O2 sensor will help prevent any wear and tear from being placed on the sensor, ensuring it's accurate the next time you need to use it (since the Bazzaz does NOT make live changes, it doesn't need to be in there except when you are "tuning").
------------------------------------------------------------------
Navigation
------------------------------------------------------------------
|
Calibrating Throttle Position |
Enabling AutoTune |
Setting Target AFR Tables (Also applies to Bazzaz) |
Firmware Updating |
Separate Maps for each Gear |
FAQ Index |