
R6 FAQ - (Updated 11-26-14)
This thread is a work in progress; it hopefully will answer any question about the 06+ R6 Exhaust and Fuel Controllers and even contains PCV, PCIII, and Bazzaz Maps.
The Cliff Notes for those that don't want to read. Although I strongly recommend you take the time to read the sections below.
Section I - Fuel Controllers
Section II - Maps
Section III - Exhaust 06+
Section IV - PCV and Software
Section V - PCV AutoTune
Section VI - FlashTune Flash Interface
Section VII - Installs
Section VIII - R6 Maintenance
Section IX - Sprockets and Chains
Section X - Suspension
- Suspension Settings
This thread is a work in progress; it hopefully will answer any question about the 06+ R6 Exhaust and Fuel Controllers and even contains PCV, PCIII, and Bazzaz Maps.
The Cliff Notes for those that don't want to read. Although I strongly recommend you take the time to read the sections below.
Section I - Fuel Controllers
- Why do I need a fuel controller
- How they work
- Do I need a fuel controller
- PCV vs. Bazzaz
- Other options
- My Two Cents
- FlashTune Interface vs PCV / Bazzaz
Section II - Maps
- Choosing a Map
- PCV Maps
- PCV Maps with AutoTune Tables
- PCIII Maps
- Bazzaz Maps
- FlashTune Maps
- Zero Maps (PC and Bazzaz)
Section III - Exhaust 06+
Section IV - PCV and Software
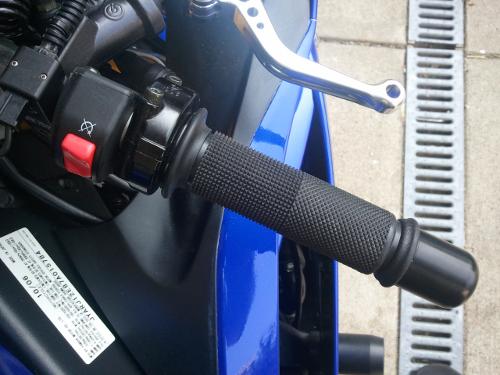
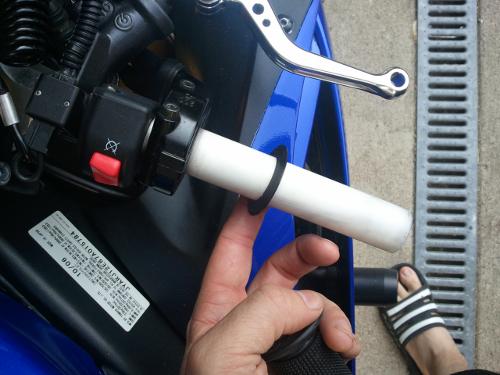
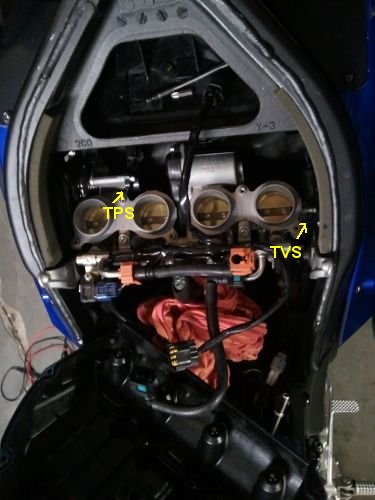
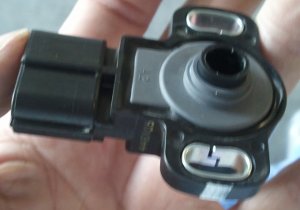
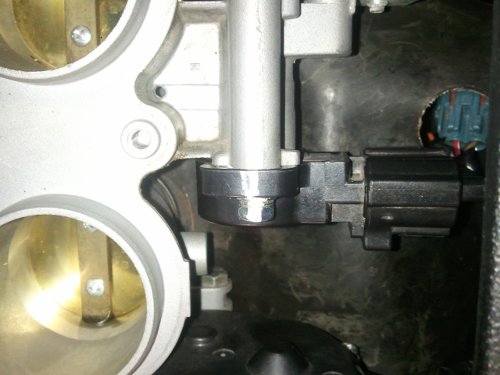
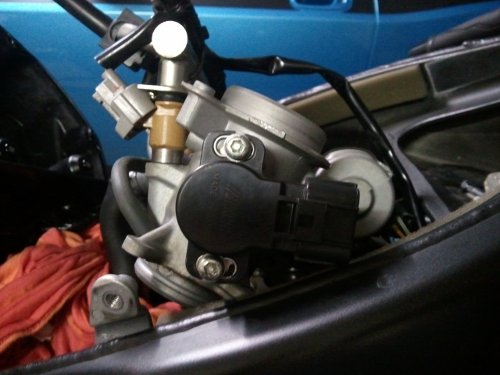
- Calibrating Throttle Position
- Enabling AutoTune
- Setting Target AFR Tables (Also applies to Bazzaz)
- Firmware Updating
- Separate Maps for each Gear
Section V - PCV AutoTune
- Why AutoTune changes never stop
- Separate Maps for each Gear
- When to accept trims
- Using trims as suggestions
- Troubleshooting
Section VI - FlashTune Flash Interface
- Before working with FlashTune please read my warning here.
- Warning
- Original FlashTune Thread
- FlashTune Interface vs PCV / Bazzaz
- Factory ECM Limitations
- FlashTune Software
- Software Versions
- Using / Installing the Device
- Troubleshooting / Connection Issues
- Timing Recommendations
Section VII - Installs
Section VIII - R6 Maintenance
Section IX - Sprockets and Chains
- Sprocket / Ratio Changes
- Chain / Replacement Size
- Rivet Links
- 520 vs 525 vs 530
- Sprocket Material
- Wear / Maintenance
- Speedometer Correction
Section X - Suspension
- Suspension Settings